The Story of the Real Cajun Mardi Gras and The Walkers Experience Mardi Gras- or Carnival- is celebrated in many cities worldwide with strong...

The Real Cajun Mardi Gras
read more
The Story of the Real Cajun Mardi Gras and The Walkers Experience Mardi Gras- or Carnival- is celebrated in many cities worldwide with strong...
Mardi Gras- or Carnival- is celebrated in many cities worldwide with strong Catholic ties. Mardi Gras season begins on January 6th, called Epiphany...
This recipe combines ground goose breast and fatty chuck roast with a zesty, spicy sauce, prepared in one pot, then wrapped in corn tortillas...
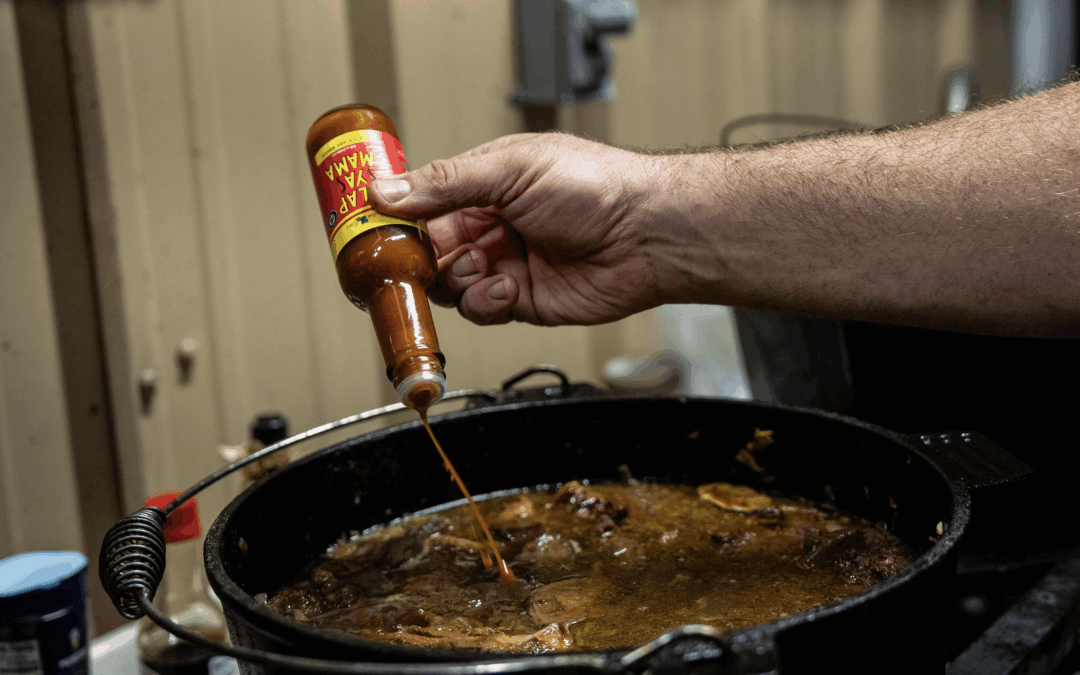
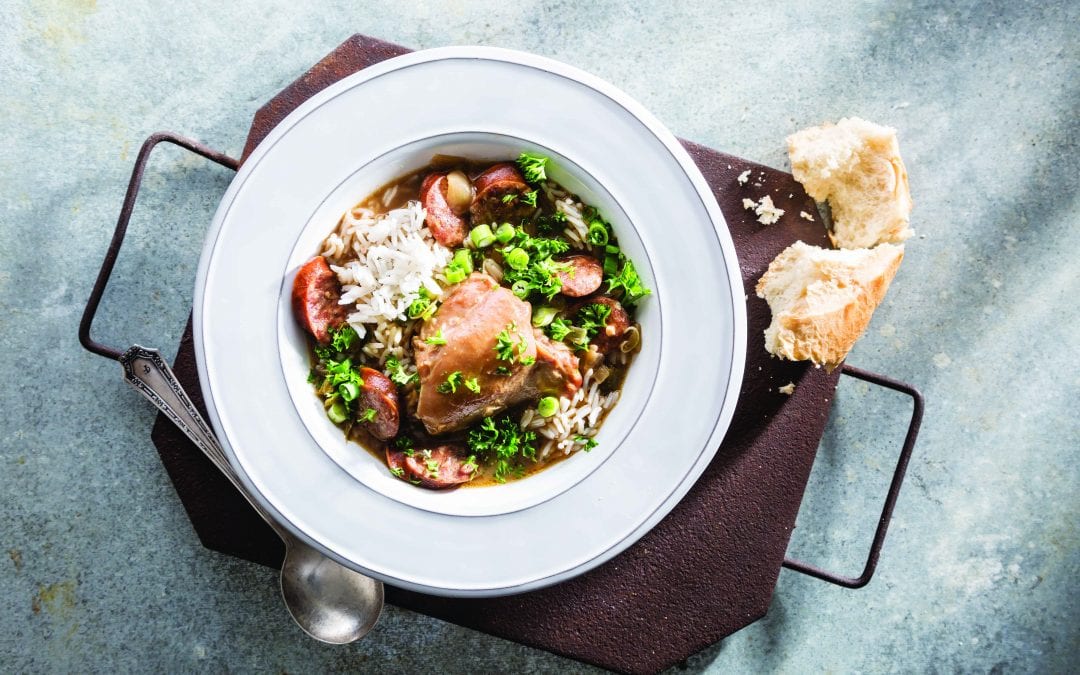
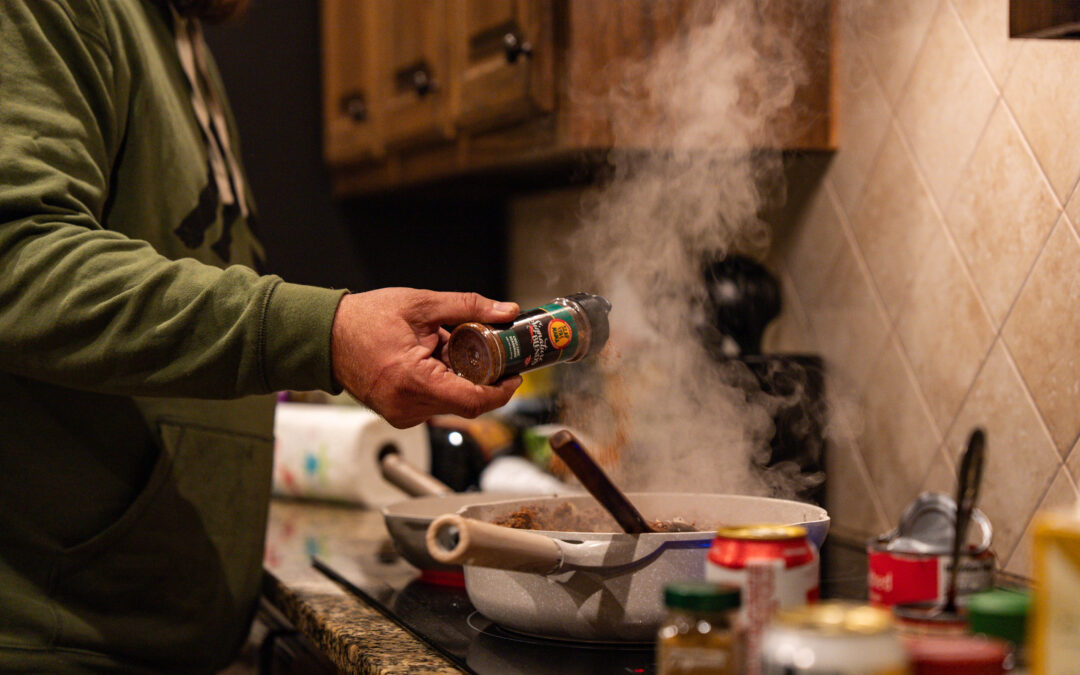
This hearty one-pot dish combines savory fresh sausage with aromatic garlic and onions, spiced with Slap Ya Mama white pepper blend and...
This vibrant dish features whole blue crabs grilled to perfection, seasoned with Slap Ya Mama Cajun seasoning and hot sauce, and enhanced...
National Catfish Day, established by President Ronald Reagan on June 25th, 1987, holds a significant place in American culinary history. This...
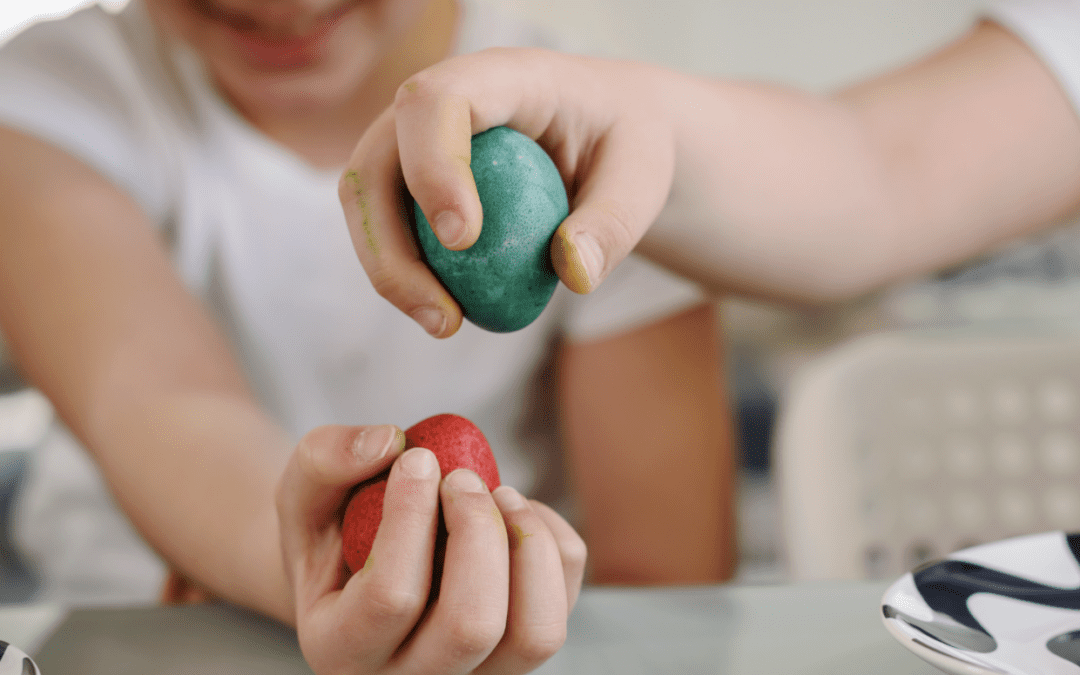
What is Egg Pocking? Egg Pocking is a tournament-style battle for the strongest hard-boiled Easter egg. How to Play: First, you and your competitor...
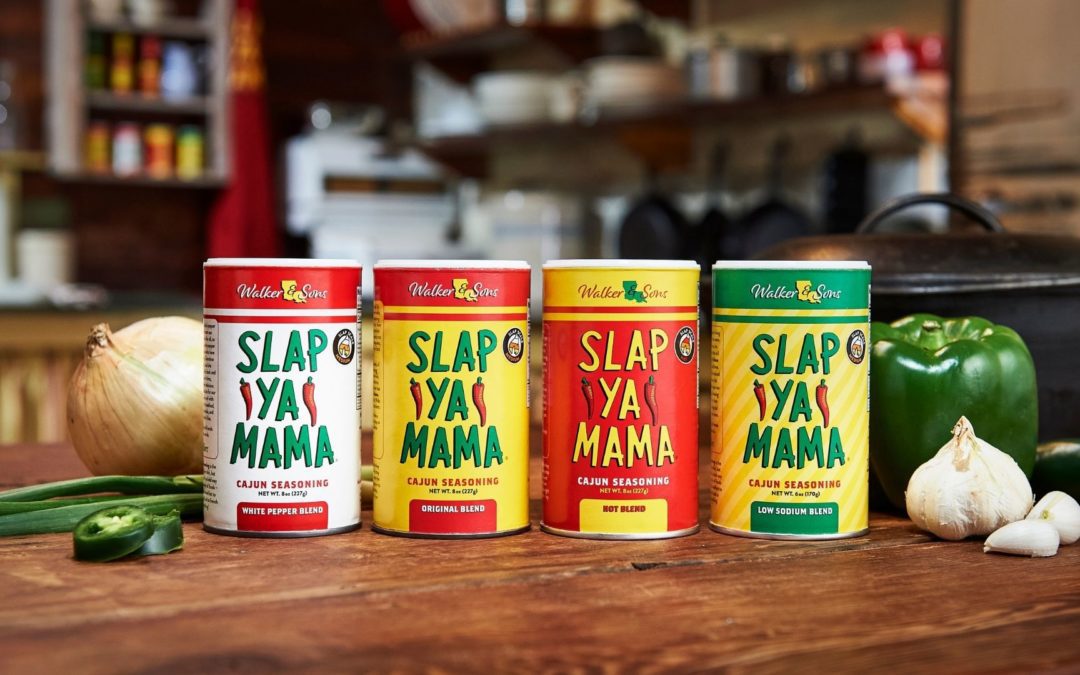
Serving customers in the family store’s deli, Jennifer was disappointed in their store-bought seasoning. She went home and complained to TW,...

Get ready to spice things up with Buffalo Fried Gator! Created by Chef Jean Paul Bourgeois of Duck Camp Dinners, this crispy, golden-fried...
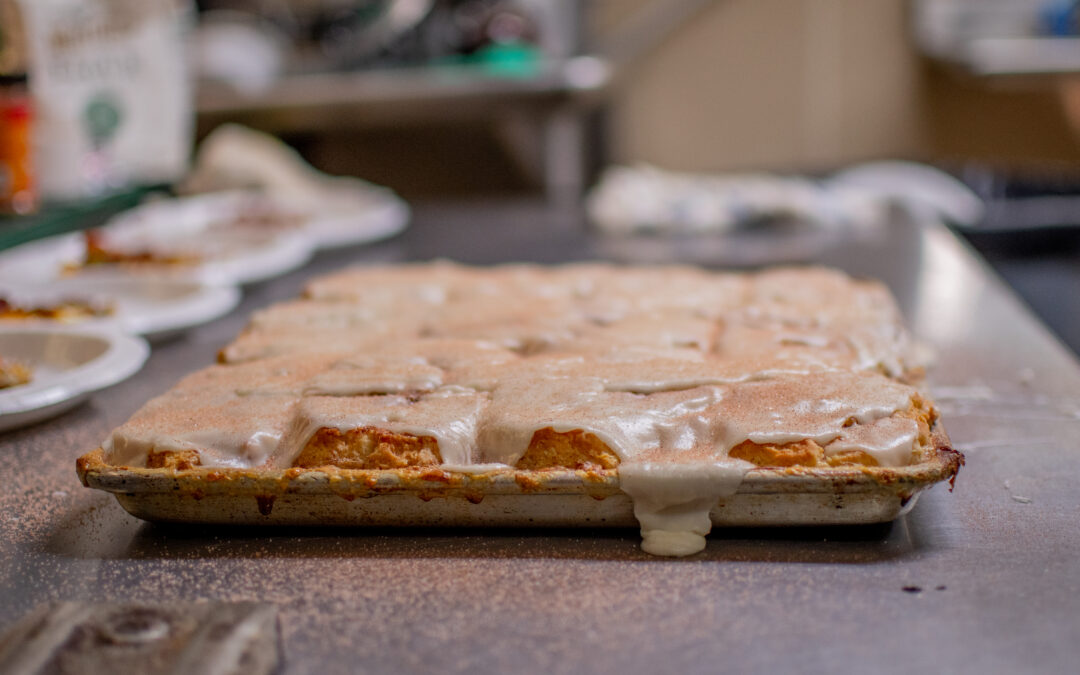
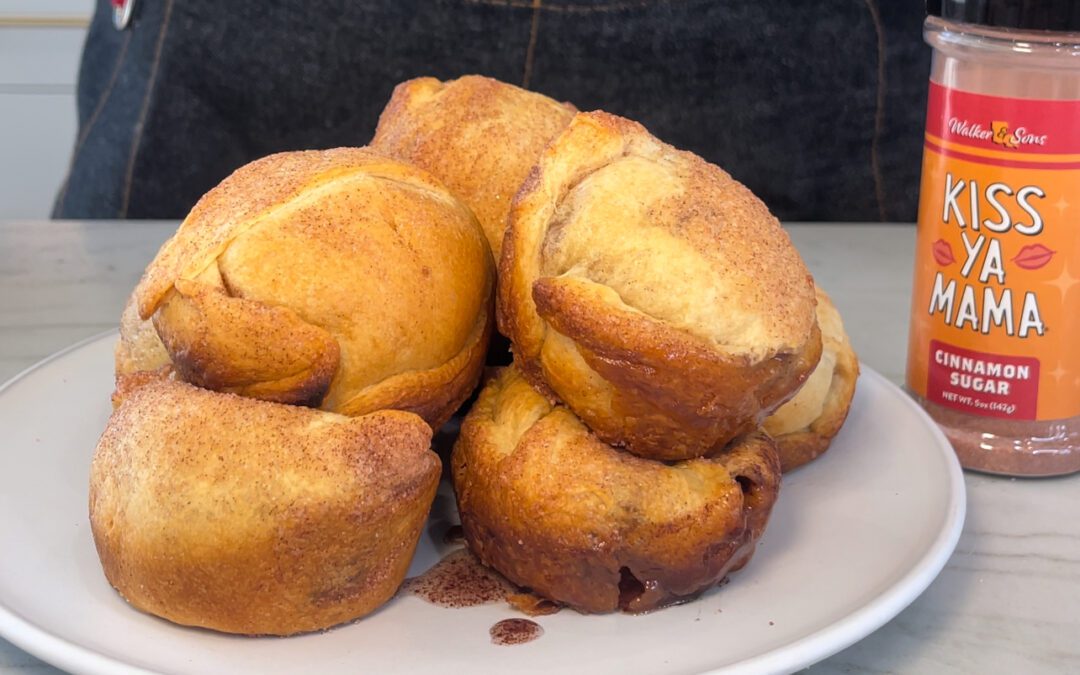
Indulge in the sweet, buttery goodness of these Biscuit Cinnamon Rolls crafted by Jean-Paul Bourgeois, creator of Duck Camp Dinners. With...
Louisiana, a state celebrated for its rich culinary heritage, continues to captivate the taste buds of locals, transplants, and tourists. Among the...

Start your day with a burst of flavor with our delicious Breakfast Potatoes, seasoned to perfection with Slap Ya Mama Cajun Seasoning and...

Get ready to elevate your wing game with our irresistible Honey Buffalo Wings Recipe, featuring the bold flavors of Slap Ya Mama Original Blend...

Elevate your dessert game with our Delicious Banana Pudding Recipe, highlighted by the sweet and comforting flavors of Kiss Ya Mama Cinnamon Sugar....
Welcome to the flavorful world of Slap Ya Mama! Prepare to embark on a culinary adventure where bold and tantalizing flavors collide. In this...

Looking for a simple yet delightful treat to bake at home? These Irresistible Cinnamon Muffins are the perfect choice! With a soft, fluffy...

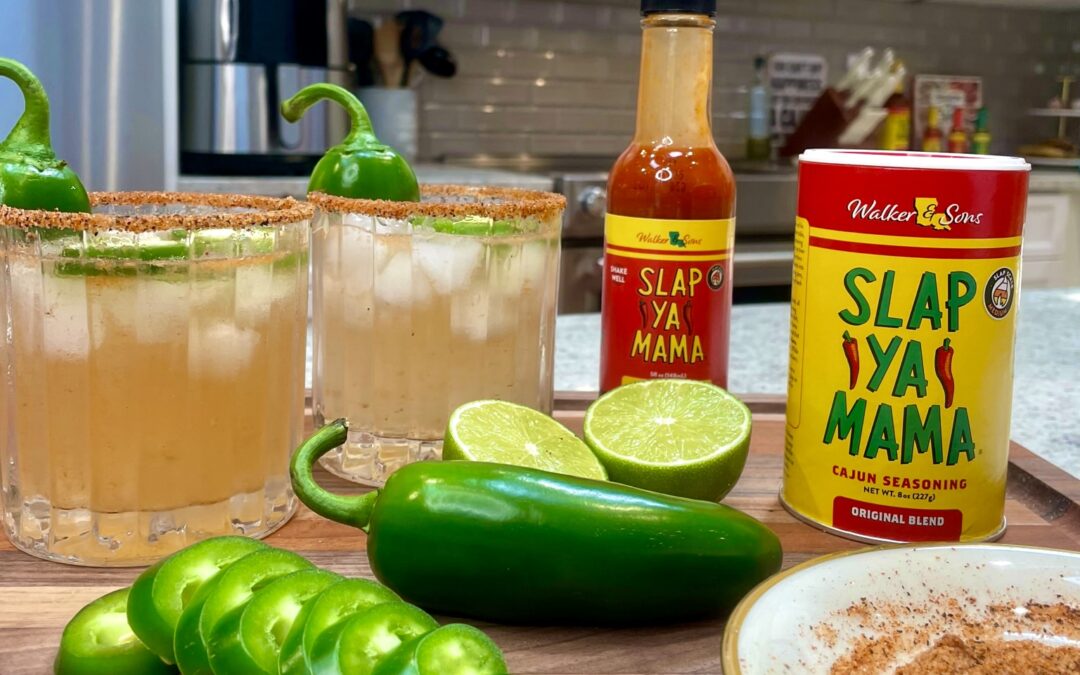
Cool off this summer with a refreshing and zesty Watermelon Jalapeño Salad, featuring the bold flavors of Chili Lime seasoning. This vibrant...

Summer is the perfect time to enjoy fresh, vibrant salads, and nothing embodies this better than the Steak Salad with Creamy Balsamic Mix from Slap...

Looking for a delicious and easy snack recipe? Try our Kiss Ya Mama Chex Mix! This sweet and savory treat features 8 cups of Rice Chex cereal...
Introducing a mouthwatering twist on classic marshmallow treats – Kiss Ya Mama Marshmallow Crescent Buns! These delightful buns boast a...